

meta data for this page
Creating a prefab
In the following, we will explain the three steps necessary for creating a new object as prefab:
Importing Objects
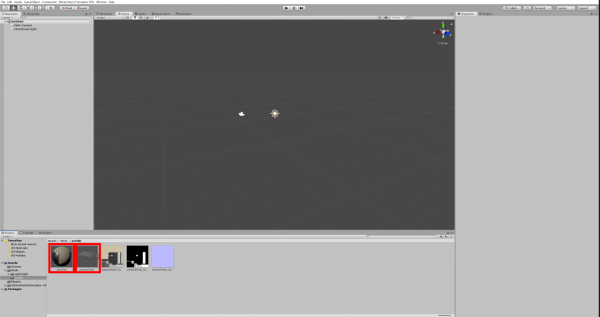
You can import files by copying them into your Unity project directory (within the Assets directory), either by using Windows Explorer or by simply dragging them into Unity's Project window.
We recommend to use either .blend or .fbx for meshes. Please note that Blender must be installed on your system to import .blend files.
Assigning Materials
Please check our tutorial on creating materials and assigning textures!
Once you've created all materials needed for your model, you can assign them.
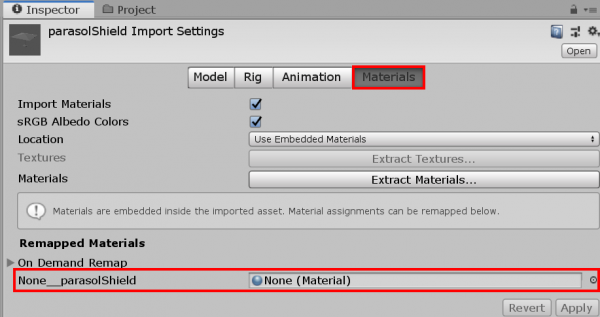
- First, select the model within the Project window. On the right-hand side, you will then see the model's import settings (shown in the Inspector window)
- Switch to the
Materialtab within the Inspector window. - Drag and drop your newly created material onto the respective material name within your model file.
Finally, after you have assigned all materials used within the mesh, make sure to apply your changes by pressing Apply.
Creating The Prefab
Again, select your model file within the Project window (same as above). Switch back to the Model tab and activate the checkbox Generate Colliders, if you want to have collision enabled for your model. Again, apply your changes by pressing Apply.
Important: Any objects used in the ingame editor (i.e. any prefabs) must have a collision in order to make them selectable. Otherwise you will not be able to select the object.
For more complex objects such as ropeways and vehicles, we recommend to manually create the colliders for performance reasons instead!

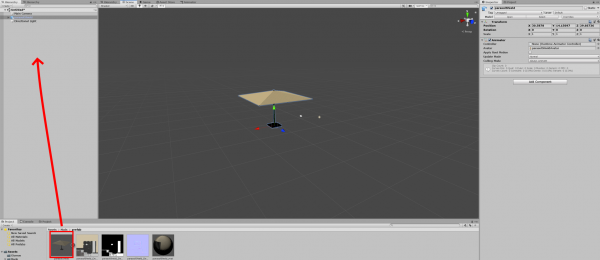
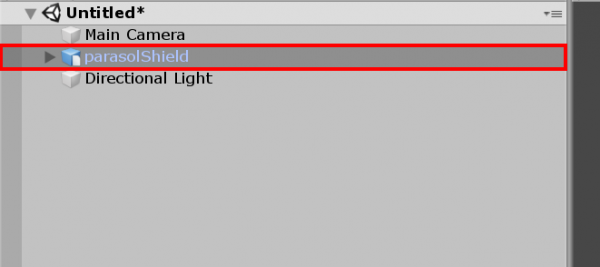
Next, drag your model into the Hierarchy or Scene window.
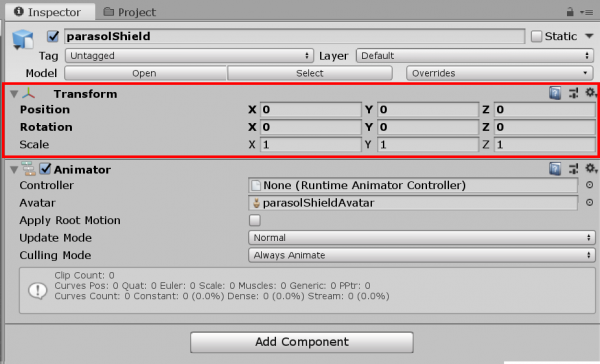
Make sure all your position/rotation components are equal to 0, and scale is equal to 1, 1, 1.
Now drag your object from the Hierarchy window back into the Project window. You will be asked whether you want to create a new Original Prefab or a Prefab Variant. Usually, you will want to have a Prefab Variant. Check out the Unity Documentation on Prefab Variants if you want to know the reasons.

We recommend to rename the prefab (by pressing the F2 key while the prefab is selected within the Project window) to some meaningful name. This will make it easier for you to work with your model.
Once you've created the prefab, you can delete the object within the Scene. Select it (by clicking onto it in the Hierarchy window) and delete it by pressing the Backspace or Delete key.
Congratulations, you have successfully created your first prefab! You can now use it within your mod by referring to its file name. The tutorial preparing an object for the game would be the next useful step if you want to learn how you can get your object into the game.