meta data for this page
Create a Material and assign Textures
Every mesh needs a material. When importing a new model, Unity will create some dummy materials for you. However, creating new materials inside Unity allows for more customisation, and therefore helps to make your mods look more beautiful. For some features (e.g. custom shaders), it is even necessary to create new materials.
You can choose whether your material shall use a color only (part one of this tutorial), or if you want to use a texture (part two). Click here to directly check how to add textures.
Creating a Material
First, you need to create a new material. Usually, it makes sense to create the materials in the same directory in which the mesh file is located, or in some sub-directory of that one. Navigate to the desired directory and right-click on some empty space. Select Create > Material.
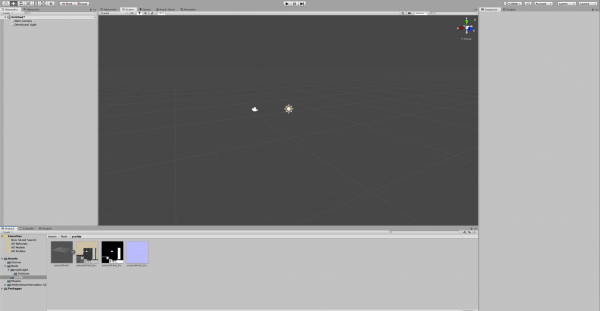
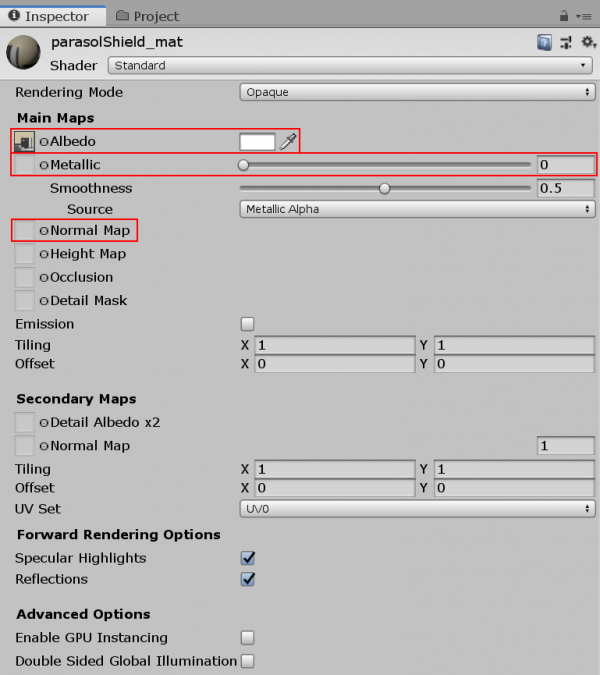
Make sure to name it in a meaningful way. If your object is called parasolShield (like in this example), you could call the material parasolShield_mat. Now, select the material by clicking onto it inside the Project window. On the right-hand side, you will see the material's properties inside the Inspector window.
Next, you can either colour your material or assign textures to it.
Colouring your material
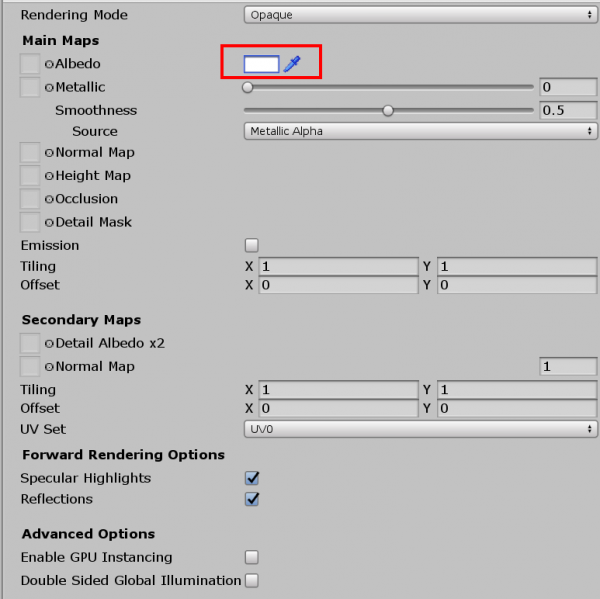
Click onto the white panel next to Albedo to choose a colour.

Alternatively, you can also click onto the colour picker icon to pick a colour from your screen.
After that, you can already assign the material to your model.
Assigning Textures
Left to Albedo, there is a small grey panel. Select your texture inside the Project window and drag-n-drop it into this small grey panel.
Adding metallic and normal textures will give your models a massive quality boost. For that, you can assign Metallic and Normal textures as well (if existing), but this is not necessary. The other options are usually not relevant.
If you want to find out more on textures, check out the Unity documentation on creating materials. You can also read more about Unity's Standard shader.
The sliders Metallic and Smoothness will have a dramatic impact on the material's appearance if you don't have a metallic map available. We recommend to try out different combinations to find out which one looks best.
Again, you can already assign the material to your model.
Benefits of Metallic and Normal Maps
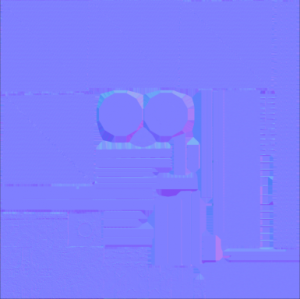
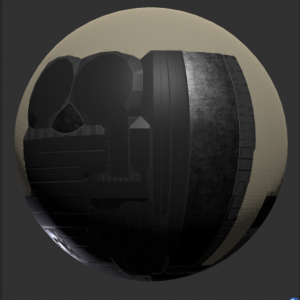
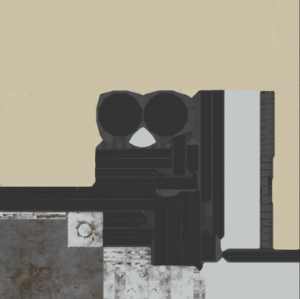
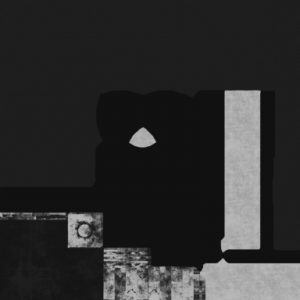
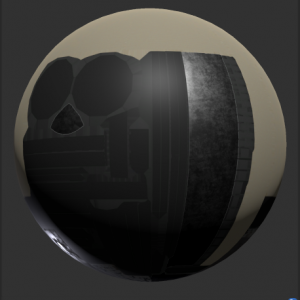
Below, we will illustrate how albedo, metallic and normal maps look like and what their effect on your model's appearance is. On the left-hand side, we will show you the texture file, and on the right side the appearance of the material.
Using only an albedo texture will colour your material accordingly:
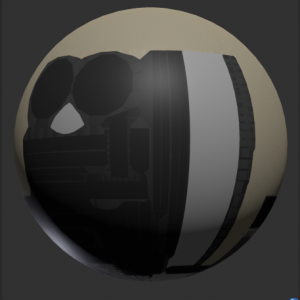
Adding a metallic map allows to control the amount and the sharpness of reflections. You can further tune this behaviour using the Metallic and Smoothness sliders inside the material inspector.
A good normal map will add small to medium-sized bumps. This way, it is possible to dramatically enhance visuals without adding additional polygons/triangles, i.e. adding much quality with only a minor performance impact!